Marvel Rivals ranked mode just went live and for many, this means the default reticle won’t cut it anymore. Those looking to climb the ladder may consider changing the default reticle to something more personalized.
Marvel Rivals ranked mode is brimming with competitive players looking to climb the ladder and claim this season’s rewards. Of course, getting the Gold rank reward is easier than hitting the top 500 players and claiming the Gold Crest of Honor. Players are doing all they can to hit big milestones.
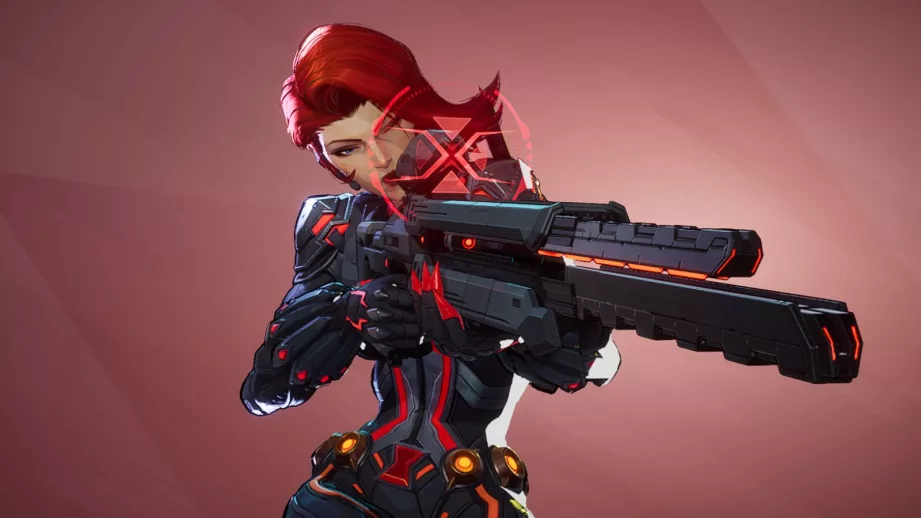
While many can get by just fine with the default reticle, some aim-heavy characters like Hela and Black Widow shine the most with a well-rounded reticle. And of course, not all people have equally sharp eyes. Here’s how to customize reticles, and import a new one into the game.
How to change reticle in Marvel Rivals
While it may be tempting to quickly jump into quickplay as your favorite Marvel character, it’s a good idea to customize reticle settings first. The default one is workable for almost all players, but those who have color blindness or eye issues might want to do a test run first.
These are the main customization options available:
- Width
- Opacity
- Outline width
- Outline Opacity
- Blur
- Center gap
- Circle radius
- Crosshair length
- Crosshair angle
- Color
Players will first need to choose a reticle type. The choice often depends on previous experience with shooters. For instance, players transitioning from Call of Duty or Counter-Strike 2 might lean toward a traditional crosshair or a simple dot, whereas others might prefer experimenting with a circle.
While most settings come down to personal preference, it’s generally advised to choose a color that stands out on Marvel Rivals maps. Marvel Rivels players should change their reticles to a neon yellow color, as it tends to stand out in the color palette of each map.

Here’s how to change reticle in Marvel Rivals:
- Start Marvel Rivals and go to in-game settings
- Click on the Keyboard option, and then go to “Combat.”
- Under a HUD, select “Reticle Type” and click on the preferred type
- Click on Advance to expand the setting options
- Keep clicking on “Details” under each setting to further customize the crosshair
When done, scroll back up and click on “Save as new.” Set an easy-to-remember name to save reticle settings.
How to import reticles in Marvel Rivals
New players who keep getting lost in Marvel Rivals reticle settings can cut corners by importing the best Marvel Rivals crosshairs used by other players. This is done via a code, similar to Valorant and other shooters.
Here’s how to import a reticle in Marvel Rivals:
- Open Settings and navigate to the Keyboard tab
- Under the HUD section, find the Reticle Save option
- Click the drop-down menu and select “Add New Save”
- You’ll see four options: delete a saved reticle, rename a saved reticle, import a reticle, or export your own
- To import a reticle using a code, click “Import Save” in the Reticle Save row
- Enter the reticle code when prompted
- Paste the code to apply the reticle in Marvel Rivals

It’s also possible to customize a reticle for each hero in Marvel Rivals. Players may do so by selecting “All Heroes” in the top right corner of the settings menu. This option may come in handy for sniper heroes like Black Widow, who perform best with a precise dot, while heroes built for spray-and-pray gameplay may benefit from a traditional crosshair.

